Adding Google Analytics to WordPress

Want to add Google Analytics to WordPress? Read how to get this done step by step here.
Google Analytics can measure many different statistics on WordPress. By linking Google Analytics to your site in WordPress, you can find out what behavior searchers exhibit who visit your website.
To add Google Analytics to WordPress, you need to install the tracking code. This can be tricky if you are not familiar with HTML and posting pieces of code. Fortunately, there is a plugin that allows you to easily add Google Analytics to WordPress.
Reading on about Google Analytics and SEO?
Reading on about Google Analytics and SEO? From my experience, I am happy to tell you more about it. See the links below for all my articles on this subject.
- The different goals within Google Analytics
- How to leverage Google for the purchase funnel
- Leveraging Google Analytics 4 for SEO
- Google Analytics and SEO
- Granting access to a new account in Google Analytics
- Create Google Analytics account
- Google Tag Manager and SEO
Adding the MonsterInsights plugin
Normally, you have to insert the Google Analytics tracking code into the HTML code in WordPress. This is how you add Google Analytics to your WordPress.
Fortunately, there is an easier way to do this, using the MonsterInsights plugin.
Step 1: a MonsterInsights account
The first step is to create a MonsterInsights account. Once you are logged in, you can download the zip file of the plugin.
Step 2: Go to the WordPress dashboard.
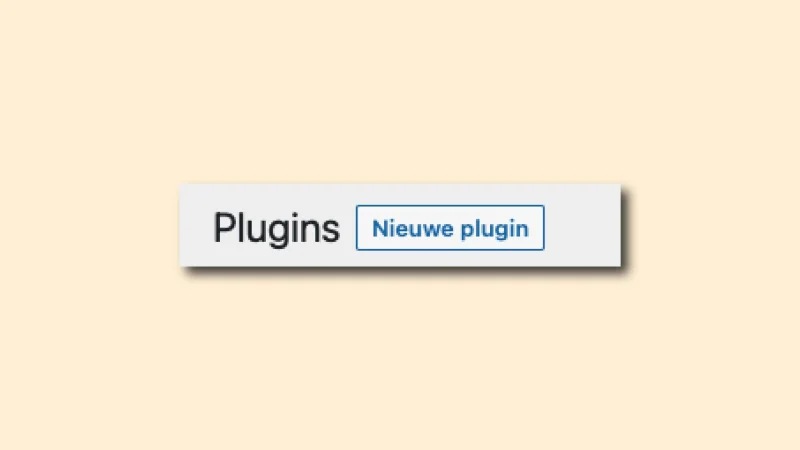
Click on the “Plugins” tab. Here you can see an overview of the plugins you already have installed. Click the button to add a new plugin.

Step 3: upload the zip file
In the next screen, you can click on “upload plugin”. You will then see the following screen:

Here you can choose the file you just downloaded through MonsterInsights. After uploading and installing the plugin, click the “activate plugin” button. Once the plugin is activated, you will be guided through the installation process.
Step 4: install the plugin
First, you get to choose between: business website, blog or E-commerce. In the next step, you need to connect the plugin to the website. You do this by entering your “license key.”
You can find this code in your account on MI. After this, your website will be verified immediately.
Step 5: link Google Analytics
Next, you will see the option to link Google Analytics to your account. Here you select your account and give MI the authorization to link the accounts.
You get to choose which property you want to link. Choose the desired website here. In the next step, you will be asked what data you want to share. To get as much benefit as possible from MonsterInsights, it is helpful to provide consent for all data.
When you have configured the data, click the “save and continue” button at the end.
Now, if all goes well, you have successfully added Google Analytics to WordPress using MonsterInsights. Is something still not quite clear or do you have a question? Send an email to ralf@up.agency, I will respond as soon as possible.
Read more about SEO and WordPress
I enjoy writing about SEO and WordPress. Read all articles here that are (sideways) about optimizing SEO within a WordPress website. From plugins to handy tips.
Plugins/tools for WordPress
- SEO plugins
- SEO Press
- SEO Squirrly
- All In One Rich Snippets
- Autoptimize
- Rank Math
- The SEO Framework
- Yoast SEO
- W3 Total Cache


